Въведение
This manual provides detailed instructions for the setup, operation, and maintenance of your Gioteck SC3 Wireless Pro Controller. Designed for use with Nintendo Switch, PC, and mobile devices, this controller features programmable back buttons, customizable RGB lighting, and changeable magnetic thumb sticks for an enhanced gaming experience.
1. Настройка
1.1 Съдържание на опаковката
- Gioteck SC3 Wireless Pro Controller
- USB кабел за зареждане
- Additional Magnetic Thumb Sticks (if included)
- Ръководство на потребителя (този документ)
1.2 Зареждане на контролера
Before initial use, fully charge the controller. Connect the supplied USB charging cable to the controller's charging port and the other end to a USB power source (e.g., Nintendo Switch dock, PC USB port, or USB wall adapter).
- Светодиодният индикатор ще покаже състоянието на зареждане.
- Пълното зареждане обикновено отнема приблизително 2-3 часа.
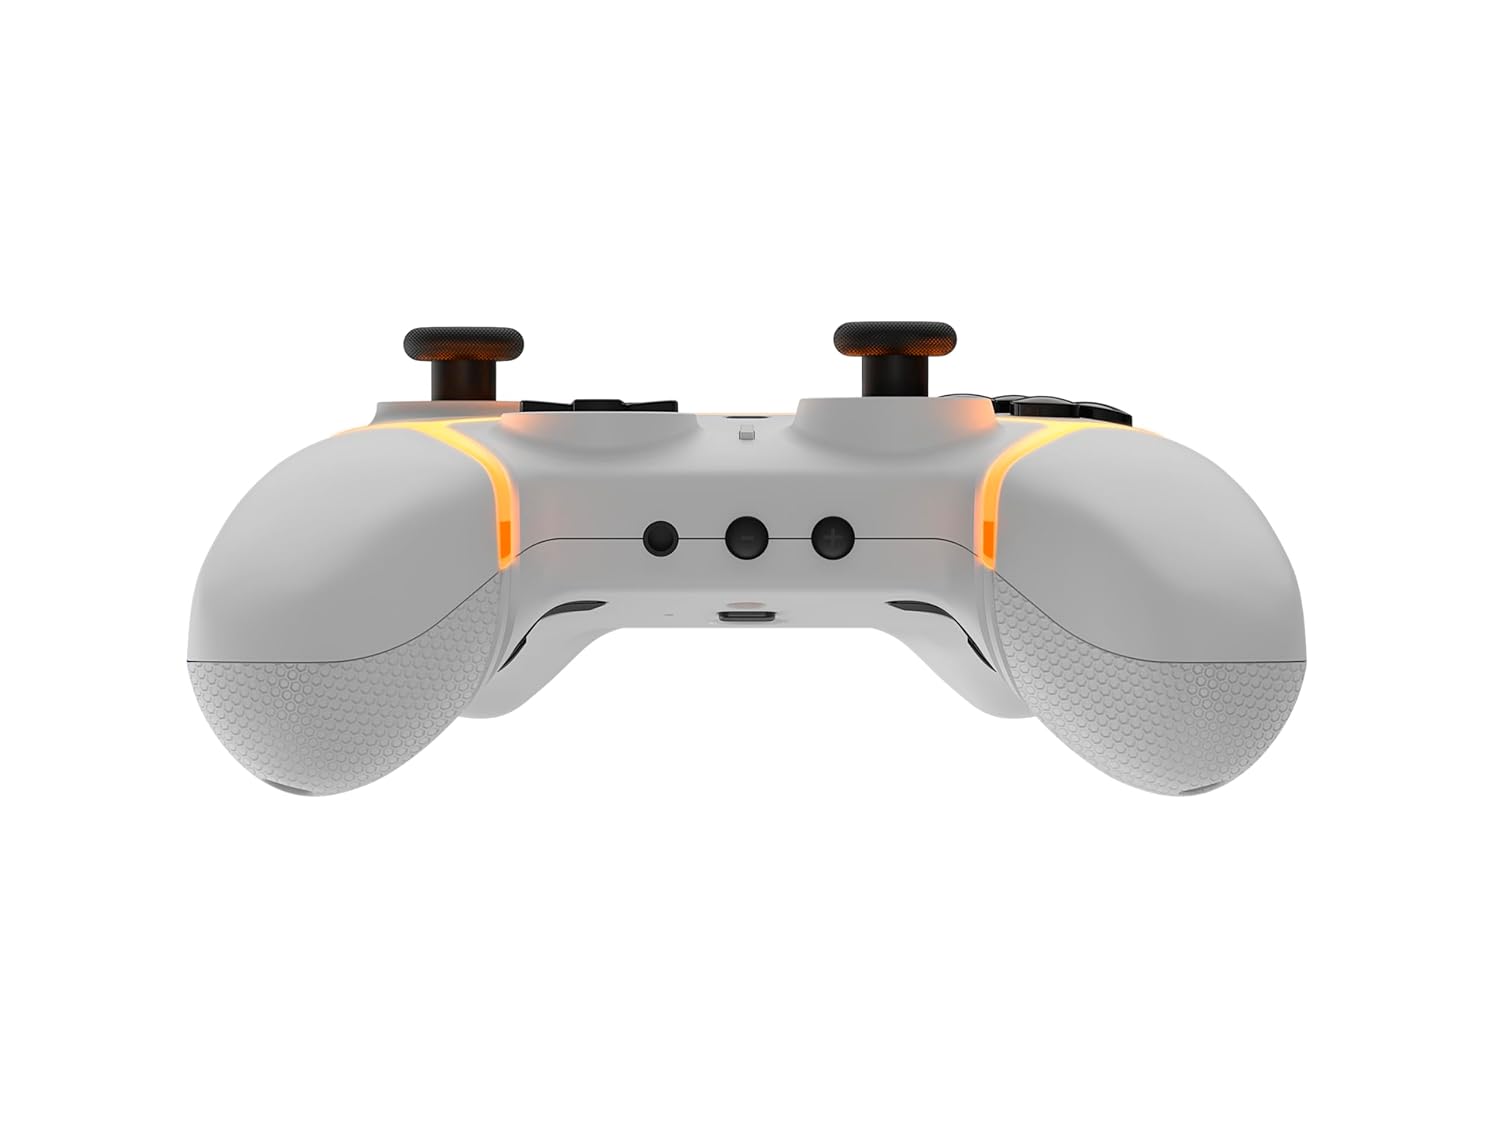
Изображение: Долу view of the Gioteck SC3 controller, highlighting the USB-C charging port located between the two textured grips.
1.3 Сдвояване с Nintendo Switch
- От началното меню на Nintendo Switch изберете Контролери, тогава Промяна на хватката/поръчката.
- On the SC3 controller, press and hold the Бутон за сдвояване (usually a small button on the top or back) for a few seconds until the LED indicators begin to flash rapidly.
- Once the controller is recognized by the Switch, the player LED(s) on the controller will illuminate solid, indicating successful pairing.
- Натиснете Бутон за потвърждение.
Note: For subsequent uses, the controller should automatically reconnect to the last paired Switch console when powered on.
1.4 Connecting to PC/Mobile (Bluetooth)
- Ensure Bluetooth is enabled on your PC or mobile device.
- On the SC3 controller, press and hold the Бутон за сдвояване for a few seconds until the LED indicators flash rapidly.
- On your PC/mobile device, navigate to Bluetooth settings and search for new devices.
- Select "Gioteck SC3" or similar from the list of available devices to pair.
- The controller's LED will become solid upon successful connection.
1.5 Installing Magnetic Thumb Sticks
The SC3 controller features changeable magnetic thumb sticks. To replace them:
- Gently pull the existing thumb stick straight up to remove it.
- Align the desired magnetic thumb stick with the base and gently push it down until it snaps into place.

Изображение: Отпред view of the Gioteck SC3 controller, showcasing the magnetic thumb sticks and button layout.
2. Инструкции за работа
Оформление на 2.1 бутона
The SC3 controller features a traditional button layout. Refer to the image below for button identification.

Изображение: Ъглова предна част view of the Gioteck SC3 controller, displaying the full button layout including face buttons, D-pad, analog sticks, and shoulder buttons.
- Ляв/десен аналогов стик: За управление на движението и камерата.
- D-Pad: Насочен вход.
- Бутони A/B/X/Y: Бутони за действие.
- Бутони L/R/ZL/ZR: Бутони за рамо и спусък.
- +/- бутони: Start/Select equivalents.
- Бутон за начало: Returns to the console's home menu.
- Бутон за заснемане: Takes screenshots.
2.2 Програмируеми бутони за връщане назад
The SC3 controller includes programmable back buttons (M1, M2, M3, M4) for custom assignments.

Изображение: Задна част view of the Gioteck SC3 controller, clearly showing the four programmable back buttons (M1, M2, M3, M4) and textured grips.
Стъпки на програмиране:
- Натиснете и задръжте Програмен бутон (refer to diagram if available, usually a small button on the back) until the LED indicator flashes.
- Натиснете Бутон за връщане назад (M1, M2, M3, or M4) you wish to program. The LED will flash slowly.
- Натиснете Бутон за въвеждане (e.g., A, B, X, Y, L, R, ZL, ZR, D-pad direction) you want to assign to the back button.
- Натиснете Програмен бутон again to save the assignment. The LED will stop flashing.
- Repeat for other back buttons as desired.
To clear a programmed button, follow steps 1-2, then press the Program Button again without pressing an input button.
2.3 Персонализиране на RGB осветлението
The controller features customizable RGB lighting. Specific instructions for changing colors or effects are typically found in the product's quick start guide or by pressing a dedicated button combination (e.g., Function + R3).
Consult the quick start guide included with your controller for precise button combinations to adjust RGB lighting.
2.4 Управление на движението
The SC3 controller supports motion controls, allowing for immersive gameplay in compatible Nintendo Switch titles. No special setup is usually required; motion controls activate automatically when supported by the game.
2.5 Audio Headset Jack
A 3.5mm audio headset jack is located on the controller for connecting compatible headsets. It includes dedicated mute and volume control buttons.
- Увеличаване/намаляване на звука: Регулиране на аудио изхода.
- Изключване на бутона: Mute/unmute microphone input.

Изображение: Отгоре view of the Gioteck SC3 controller, highlighting the 3.5mm audio jack, volume controls, and mute button.
3. Поддръжка
3.1 Почистване
За почистване на контролера използвайте мека, суха кърпа. За упорити замърсявания, леко намачкайтеampИзплакнете кърпата с вода. Избягвайте използването на агресивни химикали, абразивни почистващи препарати или разтворители, тъй като те могат да повредят покритието на контролера и вътрешните компоненти.
- Do not immerse the controller in water or any other liquid.
- Ensure all ports are dry before charging or connecting devices.
3.2 Съхранение
Съхранявайте контролера на хладно и сухо място, далеч от пряка слънчева светлина и екстремни температури. Избягвайте поставянето на тежки предмети върху контролера, за да предотвратите повреда.
3.3 Грижи за батерията
The controller contains a rechargeable battery. To prolong battery life:
- Избягвайте честото пълно разреждане на батерията.
- Charge the controller regularly, even if not in use for extended periods (e.g., once every 3-6 months).
- Do not expose the controller to temperatures above 60°C (140°F).
4. Отстраняване на проблеми
4.1 Контролерът не се свързва/не се сдвоява
- Проверка на батерията: Уверете се, че контролерът е достатъчно зареден.
- Повторно сдвояване: Follow the pairing instructions in Section 1.3 or 1.4.
- смущения: Move closer to the console/device and away from potential sources of wireless interference (e.g., Wi-Fi routers, other Bluetooth devices).
- Нулиране на контролера: Locate a small reset button (often a pinhole) on the back of the controller. Use a paperclip to press and hold it for a few seconds. Then attempt to re-pair.
- Update Console/Device Software: Ensure your Nintendo Switch, PC, or mobile device's operating system is up to date.
4.2 Buttons/Sticks Not Responding
- Повторно синхронизиране: Изключете и свържете отново контролера.
- Чисто: Уверете се, че около бутоните или джойстиците няма затрупани отпадъци.
- Test in another game/menu: Determine if the issue is specific to a game or system-wide.
- Нулиране на контролера: Perform a hard reset as described above.
4.3 Управлението с движение не работи
- Съвместимост на играта: Verify that the game you are playing supports motion controls.
- Повторно калибриране: On Nintendo Switch, you can recalibrate motion controls in the system settings.
- Нулиране на контролера: Извършете хардуерно нулиране.
5. Спецификации
| модел: | Gioteck SC3 Wireless Pro Controller |
| Съвместимост: | Nintendo Switch (Original, Lite, OLED), PC, Mobile Devices |
| Свързване: | Безжичен Bluetooth |
| Размери (прибл.): | 2.87 x 5.35 x 6.34 инча (7.29 x 13.59 x 16.1 см) |
| Тегло (прибл.): | 10.6 унции (300 грама) |
| Аудио жак: | 3.5mm with mute and volume controls |
| Специални функции: | Programmable back buttons, Magnetic thumb sticks, RGB lighting, Motion controls |
6. Гаранционна информация
The Gioteck SC3 Wireless Pro Controller comes with a manufacturer's warranty. For specific details regarding warranty coverage, duration, and claims process, please refer to the warranty card included with your product or visit the official Gioteck webсайт.
Моля, запазете доказателството си за покупка за целите на гаранцията.
7. Поддръжка на клиенти
If you encounter any issues or have questions not covered in this manual, please contact Gioteck customer support. Contact information can typically be found on the product packaging or the official Gioteck webсайт.
Gioteck Official Webсайт: www.gioteck.com


