1. Въведение
This manual provides essential information for the safe and efficient operation, setup, and maintenance of your OMTech 90W CO2 Laser Engraver, Model SH-G570. Please read this manual thoroughly before operating the machine to ensure proper usage and to prevent damage or injury.
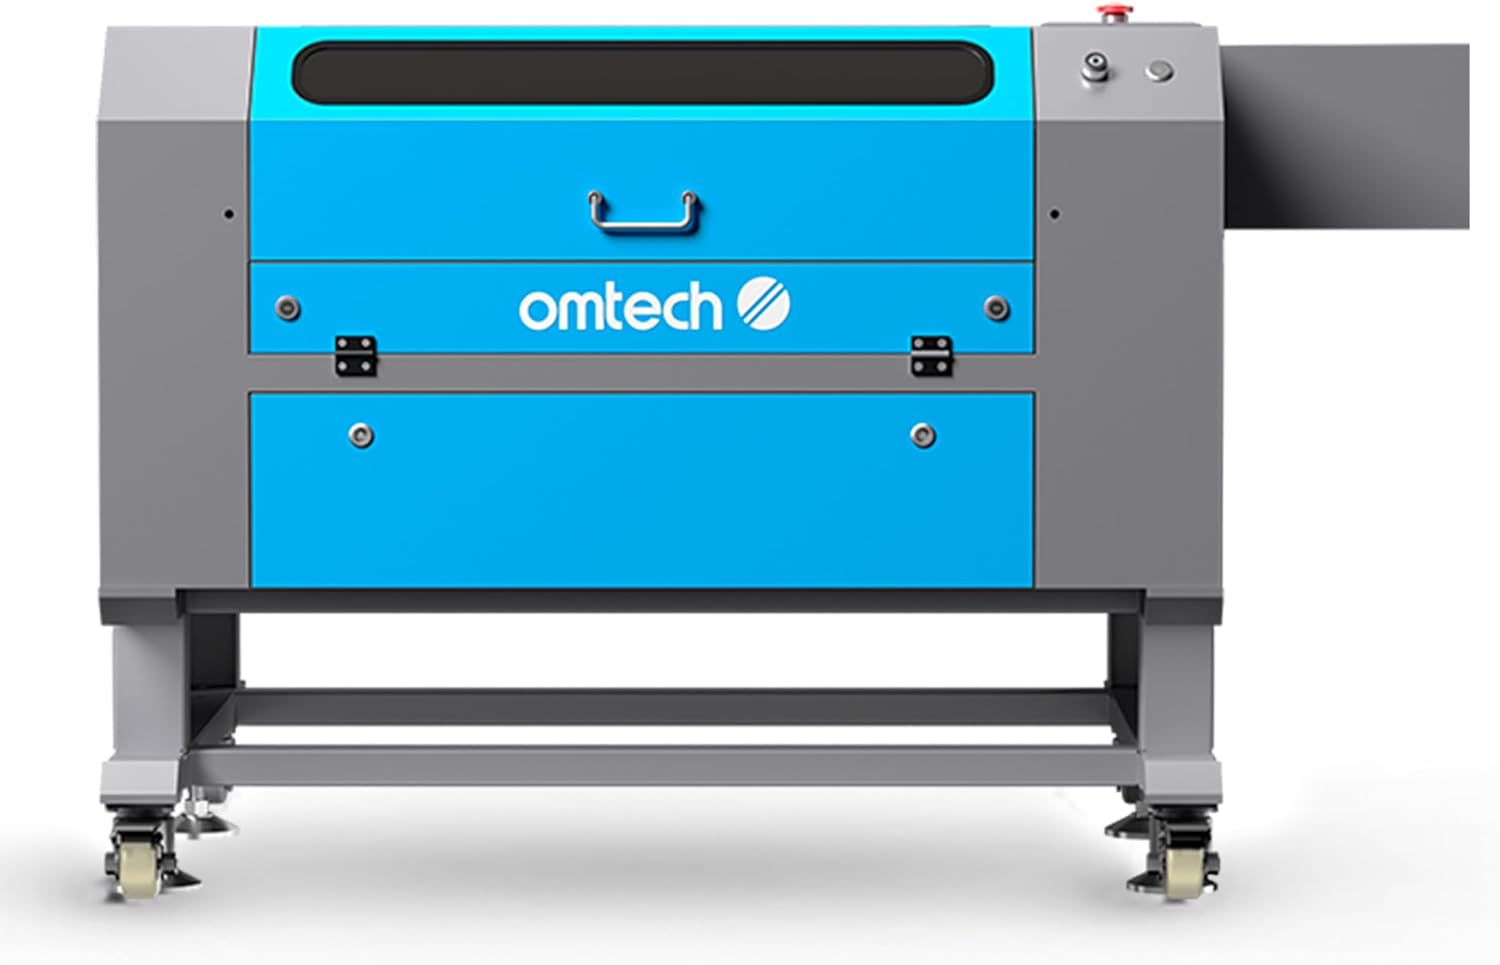
Фигура 1: Отпред view of the OMTech 90W CO2 Laser Engraver. This image shows the overall design of the machine, including the blue and gray casing, control panel area, and the base with wheels.
2. Информация за безопасност
Operating a laser engraver involves inherent risks. Adherence to safety protocols is paramount to prevent injury and ensure safe operation. This machine is a Laser Class 2 device with 0.874 mW output power.
- Защита на очите: Never look directly into the laser beam. Always use appropriate laser safety glasses.
- Вентилация: Ensure adequate ventilation to remove smoke and fumes generated during engraving and cutting. The built-in air assist helps clear the workspace.
- Пожарна безопасност: Дръжте пожарогасител наблизо. Не оставяйте машината без надзор по време на работа, особено когато обработвате запалими материали.
- Функции за автоматична безопасност: The flame-retardant viewing window allows for safe observation. The automatic cover interlock system halts laser operation if the lid is opened during a job.
- Съвместимост на материалите: Only engrave or cut materials approved for CO2 lasers. Avoid materials that produce toxic fumes or are highly reflective.
- Електрическа безопасност: Ensure the machine is properly grounded and connected to a suitable power supply. Do not operate with damaged cables or components.
3. Продуктът свършиview и функции
The OMTech 90W CO2 Laser Engraver (SH-G570) is designed for precise cutting and engraving across a variety of materials. Key features include:
- Лазерна мощност: 90W CO2 laser tube, offering up to 1,000 hours of reliable use.
- Работна зона: Spacious 28" x 20" (711 x 508 mm) workbed.
- Дълбочина на рязане: Capable of cutting up to 0.4" (10 mm) deep in wood in a single pass.
- Скорост на гравиране: Maximum engraving speed of 600 mm/s.
- Автофокус: Built-in autofocus feature for automatic setting of optimal focal distance.
- Преминаване: Four-way pass-through doors for processing larger materials.
- Workbeds: Includes both honeycomb and blade workbeds for versatile material support.
- Въздушна асистенция: Integrated air assist system to reduce flare-ups and clear debris.
- Съвместимост на софтуера: Compatible with RDWorks, LightBurn, CorelDRAW, and AutoCAD.

Figure 2: Infographic summarizing the key features and capabilities of the OMTech 90W CO2 Laser Engraver.

Фигура 3: Едър план view illustrating the laser head cutting through 0.4 inches of basswood in a single pass, highlighting the machine's cutting capability.

Figure 4: Visual comparison of the OMTech engraver's 20x28 inch work area against a smaller standard size, demonstrating its larger processing capacity.
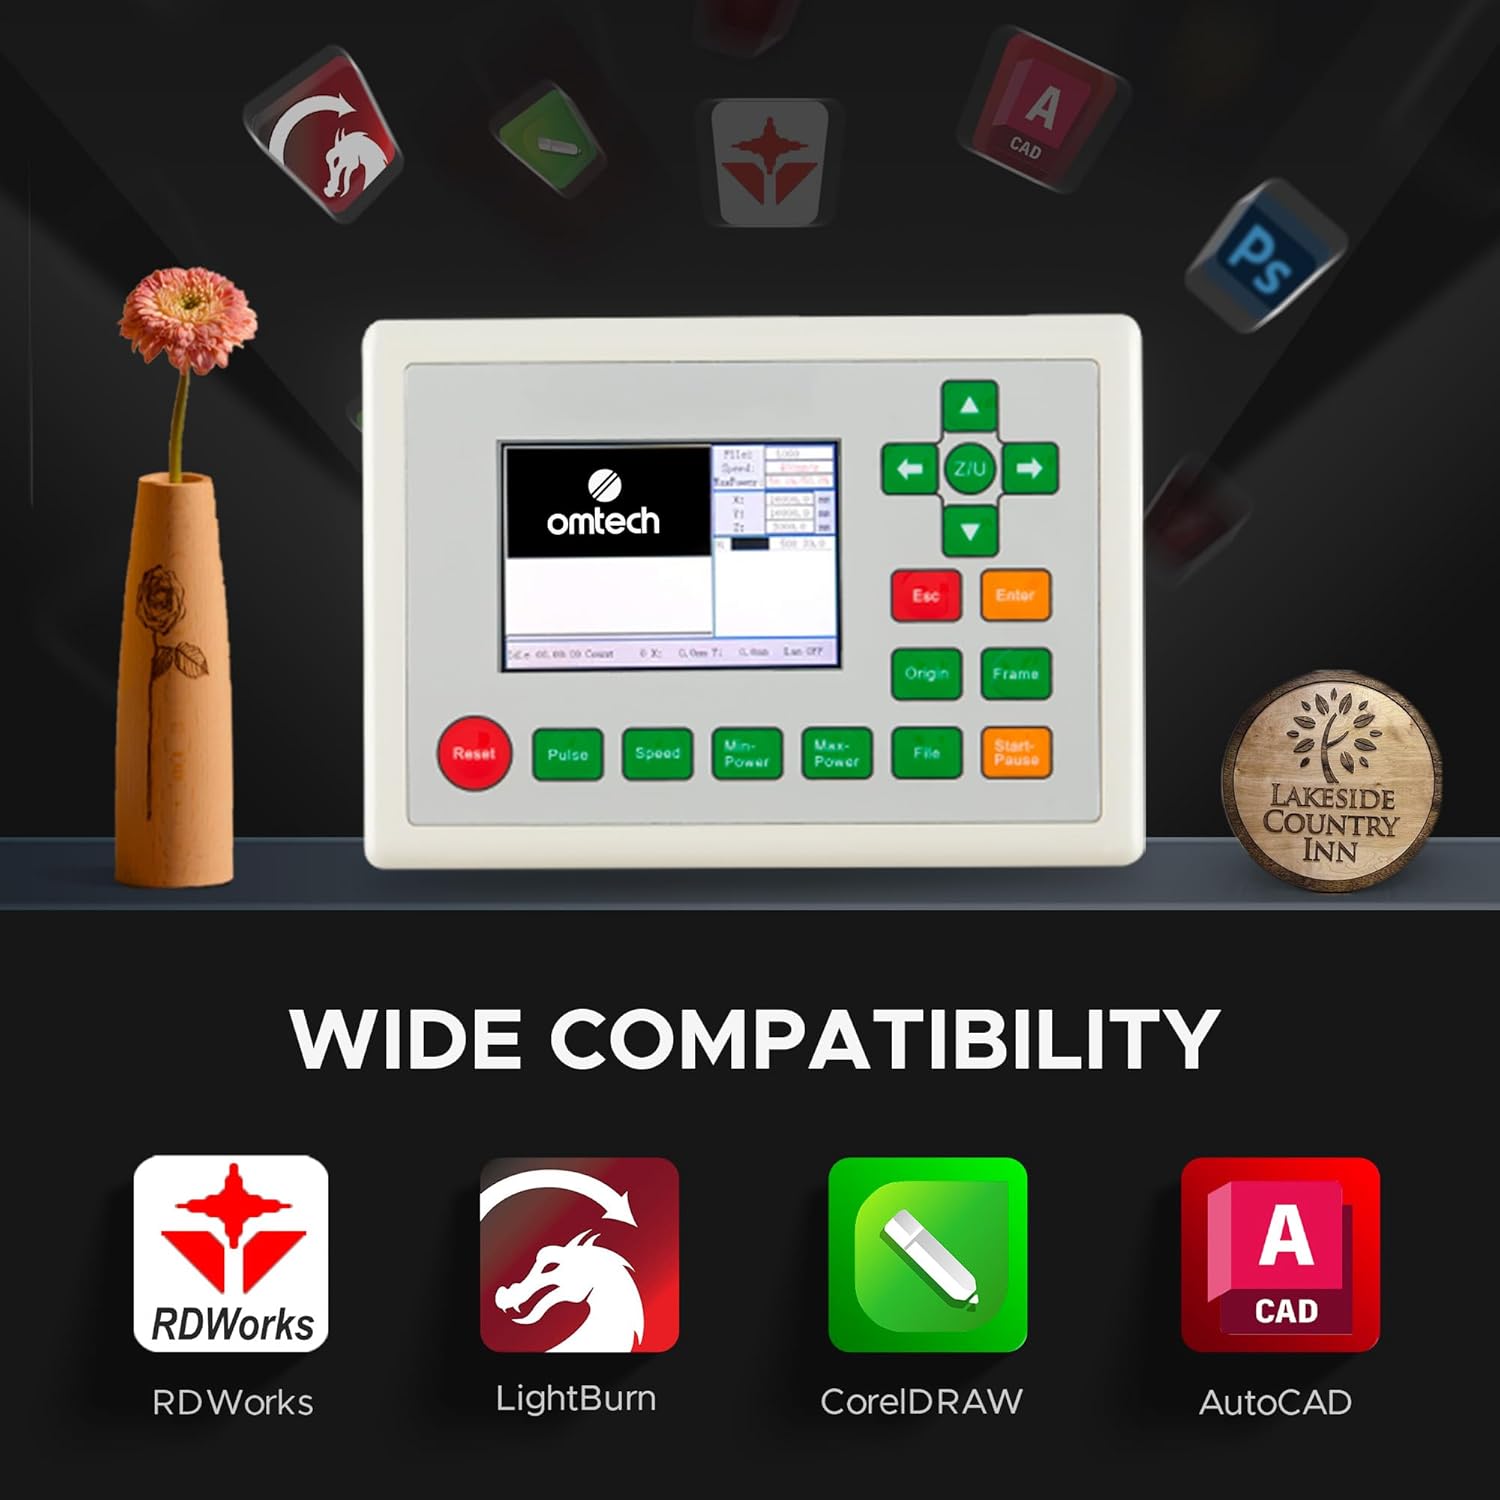
Figure 5: The digital control panel of the laser engraver, showcasing its compatibility with various design software including RDWorks, LightBurn, CorelDRAW, and AutoCAD.
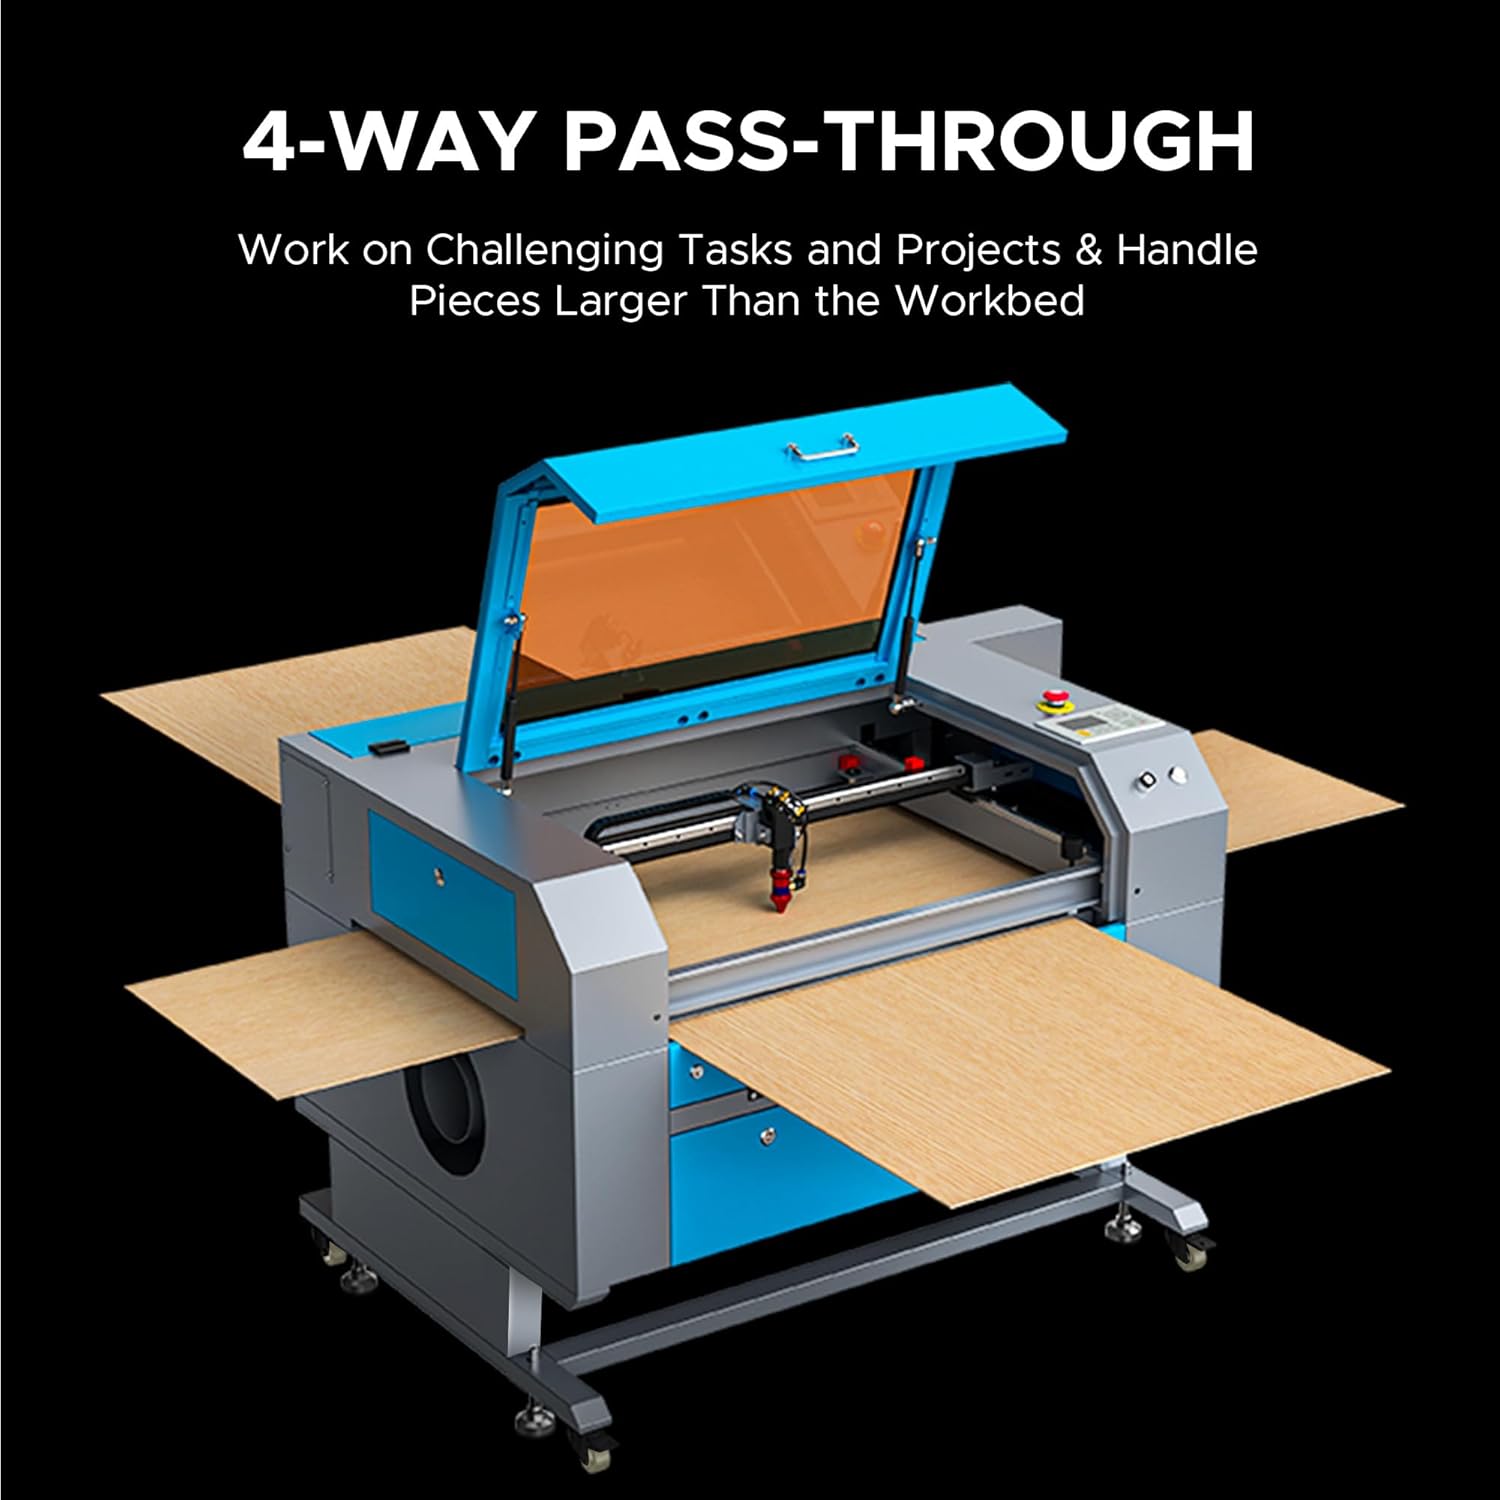
Figure 6: The machine configured with its four-way pass-through doors open, illustrating how larger materials can be fed through the work area.

Figure 7: An animated illustration depicting the functionality of the built-in autofocus and air assist systems, showing how they optimize laser performance and clear debris.
4. Инструкции за настройка
Proper setup is crucial for the safe and effective operation of your laser engraver. Follow these general steps:
- Разопаковане: Carefully remove the machine and all accessories from the packaging. Inspect for any shipping damage.
- Разположение: Place the engraver on a stable, level surface in a well-ventilated area, away from flammable materials. Ensure sufficient space around the machine for access and ventilation.
- Система за водно охлаждане: Connect the provided water pump or chiller to the laser tube's inlet and outlet ports. Fill the reservoir with distilled water. Ensure water flows freely through the system before powering on the laser.
- Изпускателна система: Connect the exhaust fan and ducting to the machine's exhaust port. Route the ducting to an outdoor vent or a suitable air filtration system to safely remove smoke and fumes.
- Захранване: Connect the power cable to the machine and then to a grounded electrical outlet. Ensure the power supply matches the machine's requirements.
- Инсталиране на софтуер: Install the recommended laser control software (e.g., LightBurn, RDWorks) on your computer. Connect the engraver to your computer via USB or Ethernet.
- Initial Alignment (if necessary): Refer to the detailed software manual for initial laser path alignment procedures if required.
5. Инструкции за работа
Once the machine is set up, follow these steps for typical operation:
- Включване: Turn on the main power switch on the machine. Ensure the water cooling system is running.
- Разположение на материала: Place your material on the workbed. Use the appropriate workbed (honeycomb for cutting, blade for engraving) for your task.
- Автофокус: Utilize the built-in autofocus function to set the correct focal distance for your material. This is typically done by pressing a dedicated button on the control panel or through the software.
- Подготовка на софтуера: Open your design software, import or create your design. Set laser parameters (power, speed, frequency) according to the material type and desired effect.
- Job Transfer: Прехвърлете работата file to the laser engraver via the software.
- Тест на рамката: Use the 'Frame' function on the control panel to preview the job area on your material. Adjust material position if necessary.
- Начало на операцията: Close the lid and press 'Start' on the control panel or in the software. Monitor the process closely.
- Авариен стоп: In case of any malfunction or emergency, press the red emergency stop button immediately.
- Изключване: After the job is complete, power off the laser engraver and the water cooling system.
6. Поддръжка
Редовната поддръжка осигурява оптимална производителност и удължава живота на вашия лазерен гравьор.
- Lens and Mirror Cleaning: Regularly clean the laser lens and mirrors with specialized lens cleaning solution and wipes to maintain laser beam quality.
- Система за водно охлаждане: Change the distilled water in the cooling system every 1-3 months, or more frequently with heavy use. Ensure the water chiller (if used) is functioning correctly.
- Workbed Cleaning: Clean the honeycomb and blade workbeds to remove debris and residue that can affect material placement and laser performance.
- Изпускателна система: Inspect and clean the exhaust fan and ducting to ensure efficient removal of smoke and fumes.
- Rail and Belt Lubrication: Periodically lubricate the guide rails and check the tension of the drive belts to ensure smooth movement of the laser head.
- Общо почистване: Keep the interior and exterior of the machine clean and free of dust and debris.
7. Отстраняване на проблеми
Този раздел разглежда често срещани проблеми, с които може да се сблъскате:
| проблем | Възможна причина | Решение |
|---|---|---|
| Лазерът не работи | Lid open, water flow error, power supply issue, laser tube failure | Ensure lid is closed, check water pump/chiller, verify power connections, contact support if tube is suspected faulty. |
| Лошо качество на гравиране/рязане | Incorrect focus, dirty lens/mirrors, incorrect power/speed settings, material issues | Perform autofocus, clean optics, adjust laser parameters, ensure material is flat and suitable. |
| Машината не се свързва с компютъра | Loose cable, driver issue, incorrect software settings | Check USB/Ethernet cable, reinstall drivers, verify software communication settings. |
| Прекомерно количество дим/изпарения | Ineffective exhaust, material type | Check exhaust fan and ducting for blockages, ensure proper ventilation, use appropriate materials. |
8. Спецификации
Detailed technical specifications for the OMTech 90W CO2 Laser Engraver (SH-G570):

Figure 8: The OMTech 90W CO2 Laser Engraver shown in a workshop environment, with an overlay of its primary specifications.
- марка: OMTech
- Номер на модела: SH-G570
- Номинална мощност: 90W
- Работна зона: 28" x 20" (711 x 508 мм)
- Максимална скорост на гравиране: 600 mm/s
- Max. Cutting Depth (Basswood, single pass): 0.4 инча (10 мм)
- Размери на машината: 59.1 x 34.3 x 35.4 инча (150.1 x 87.1 x 89.9 см)
- Тегло на артикула: 258 паунда (117 кг)
- материал: Galvanized steel, Aluminium, Acrylic
- Лазерен клас: 2
- Изходна мощност: 0.874 mW
- Pass-Through Doors: 4-посочен
- Workbeds Included: Honeycomb and Blade
- Първа налична дата: 20 юни 2023 г
Material Application Chart
The following table outlines common materials and their compatibility with the engraver for both engraving and cutting:

Figure 9: A comprehensive table detailing the engraving and cutting compatibility of various materials with the OMTech laser engraver.
9. Гаранция и поддръжка
For warranty information, technical support, or service inquiries, please refer to the official OMTech website or contact their customer service department. Keep your purchase receipt and model number (SH-G570) readily available when contacting support.
Онлайн ресурси: Посетете OMTech Store on Amazon за допълнителна информация за продукта и поддръжка.