1. Въведение
This manual provides detailed instructions for the installation, configuration, and operation of your ASRock X870 Taichi Creator Motherboard. This high-performance ATX motherboard is designed to support AMD Ryzen 9000, 8000, and 7000 Series Processors with an AM5 socket, offering advanced features for creators and enthusiasts.
2. Информация за безопасност
Please read the following safety guidelines carefully before installing or operating your motherboard to prevent damage to the product or injury to yourself.
- Винаги изключвайте захранващия кабел от контакта, преди да докосвате каквито и да е компоненти.
- Wear an anti-static wrist strap to prevent electrostatic discharge (ESD) when handling components.
- Осигурете правилна вентилация в корпуса на компютъра, за да предотвратите прегряване.
- Пазете дънната платка от влага и екстремни температури.
- Refer to the CPU and other component manuals for specific installation instructions.
3. Съдържание на пакета
Проверете дали всички изброени по-долу елементи са налични в опаковката на вашата дънна платка. Ако някой от елементите липсва или е повреден, свържете се с вашия търговец на дребно.
- Дънна платка ASRock X870 Taichi Creator
- Ръководство за бързо инсталиране
- Регулаторно известие
- SATA кабели за данни
- Wi-Fi антена
- M.2 винтове и дистанционни стойки
- ASRock Graphics Card Holder
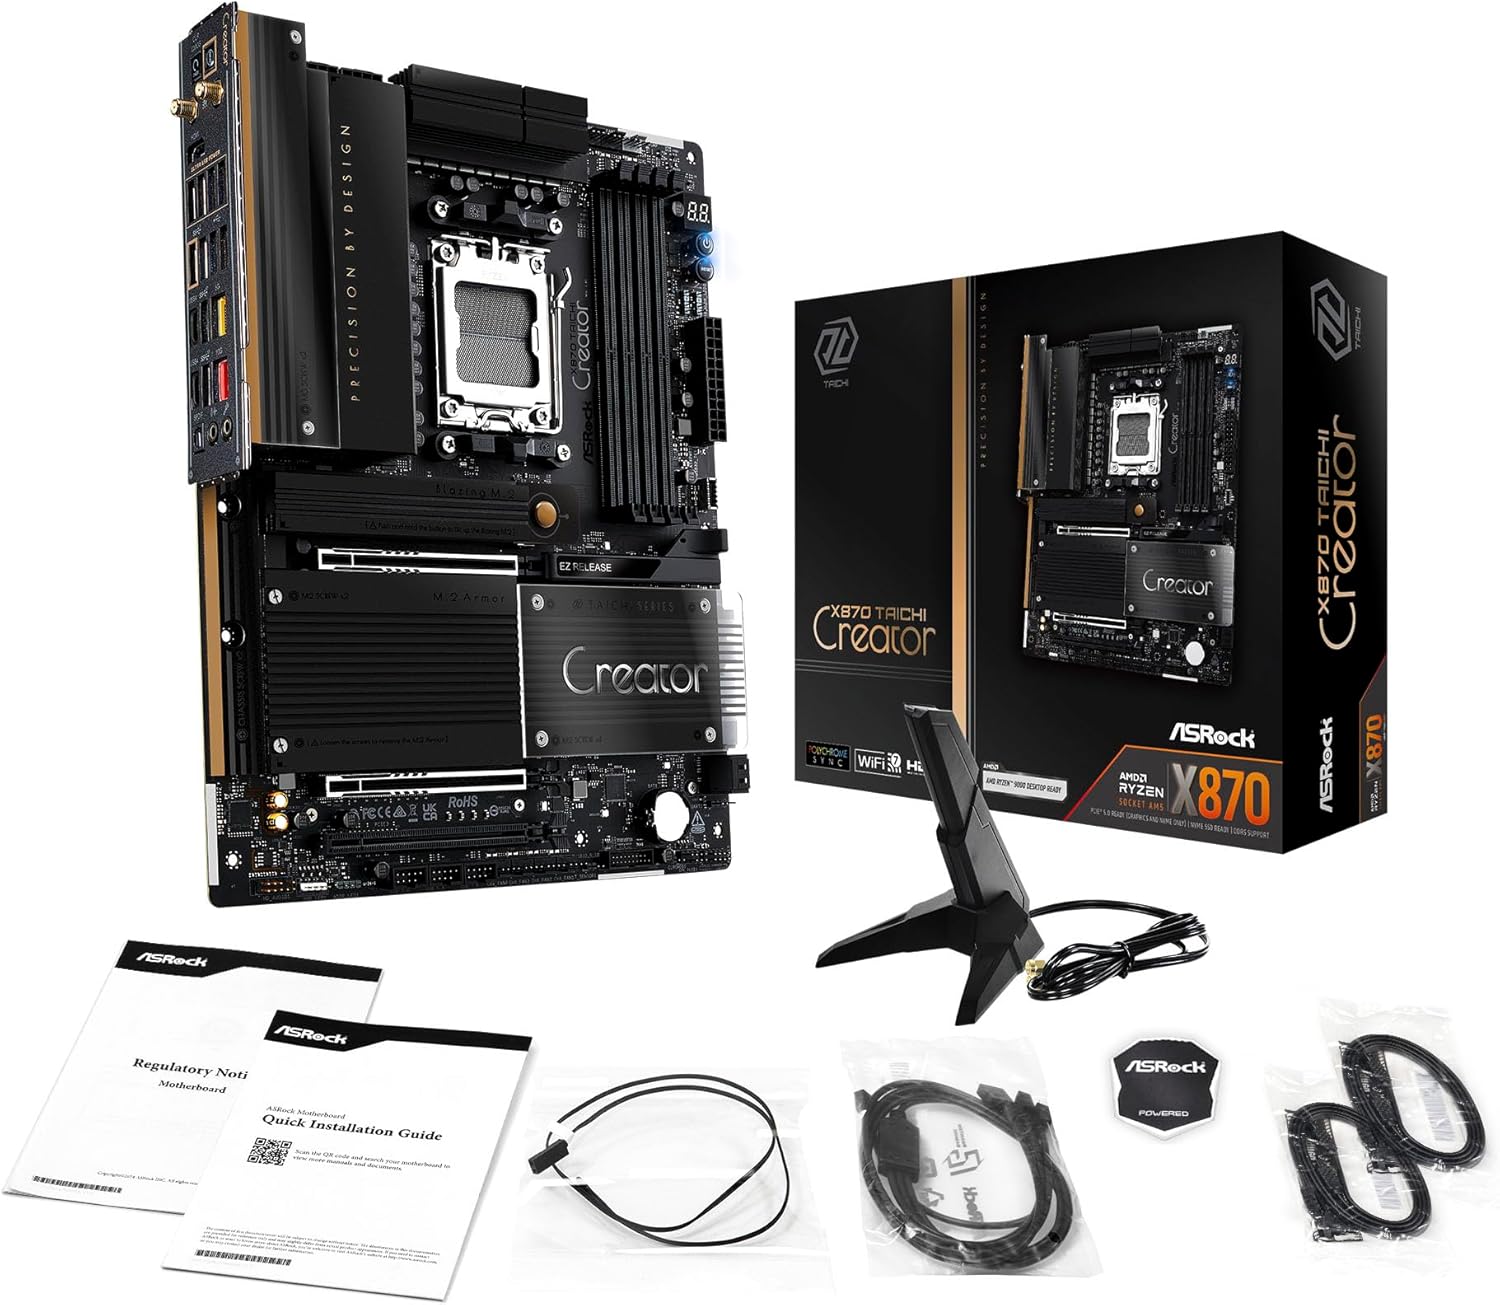
Image: The ASRock X870 Taichi Creator Motherboard shown alongside its retail packaging and various accessories, including cables, documentation, and a graphics card holder.
4. Настройка и инсталация
Следвайте тези стъпки за правилно инсталиране на дънната платка и нейните компоненти.
4.1. Инсталиране на процесор (сокет AM5)
- Намерете гнездото за процесор AM5 на дънната платка.
- Gently lift the CPU retention lever.
- Align the triangular mark on your AMD Ryzen processor with the corresponding mark on the socket.
- Carefully place the CPU into the socket without applying force.
- Lower the retention lever until it clicks into place, securing the CPU.

Изображение: Отгоре надолу view of the ASRock X870 Taichi Creator Motherboard, highlighting the central AM5 CPU socket and surrounding components like VRMs and RAM slots.
4.2. Инсталиране на памет (RAM)
The motherboard supports 4 x DDR5 DIMM slots for dual-channel memory technology.
- Отворете скобите в двата края на DIMM слота.
- Подравнете прореза на DDR5 модула памет с ключа в DIMM слота.
- Поставете модула памет плътно в слота, докато скобите щракнат на мястото си.
- For dual-channel configuration, refer to your motherboard manual for recommended slot pairing.
4.3. Инсталиране на устройство за съхранение
The motherboard features M.2 slots and SATA3 ports for storage.
4.3.1. Инсталиране на M.2 SSD
The board includes 1 Ultra M.2 (PCIe Gen3x4), 1 Hyper M.2 (PCIe Gen4x4), and 2 Blazing M.2 (PCIe Gen5x4) slots.
- Locate the desired M.2 slot and remove the M.2 heatsink if present.
- Поставете M.2 SSD в слота под ъгъл от 30 градуса.
- Gently push down the SSD and secure it with the provided M.2 screw or standoff.
- Поставете отново радиатора на M.2 за оптимална термична производителност.
4.3.2. SATA Device Installation
Connect SATA storage devices (HDDs/SSDs) to the 4 SATA3 ports using SATA data cables.
4.4. Инсталиране на PCIe карта
The motherboard provides 2 PCIe 5.0 x16 (x8/x8) slots and 1 PCIe 3.0 x16 slot.
- Select an available PCIe slot.
- Отстранете съответния капак на слота за разширение от корпуса на компютъра.
- Align your PCIe card with the slot and press down firmly until it is seated correctly.
- Закрепете картата с винт към корпуса на компютъра.
4.5. Връзки за захранване
Свържете 24-пиновия ATX конектор за захранване и 8-пиновия (или 4+4-пинов) конектор за захранване на процесора от захранващия блок (PSU) към съответните портове на дънната платка.
4.6. Връзки на предния панел и задния I/O панел
Connect your PC case's front panel connectors (power button, reset button, USB ports, audio jacks) to the appropriate headers on the motherboard. Connect peripherals to the rear I/O panel.

Изображение: Близък план view of the rear I/O panel of the ASRock X870 Taichi Creator Motherboard, showing various ports including USB, HDMI, Ethernet, and audio jacks.
5. Инструкции за работа
5.1. Първоначално зареждане и настройка на BIOS/UEFI
- След като сглобите компютъра си, свържете монитор, клавиатура и мишка.
- Включете системата си. По време на стартиране, натискайте многократно Дел or F2 клавиш за влизане в помощната програма за настройка на BIOS/UEFI.
- Configure boot order, enable XMP/EXPO for memory, and adjust other settings as needed.
- Запазете промените и излезте от BIOS/UEFI. Системата ще се рестартира.
5.2. Инсталиране на драйвер
After installing your operating system, install the necessary drivers for the motherboard components. These can typically be found on the ASRock support website or the included driver CD/USB drive.
- Драйвери за чипсет
- LAN Drivers (10Gbps, 5Gbps)
- Wi-Fi 7 + Bluetooth Drivers
- Аудио драйвери (Realtek ALC4082)
- USB драйвери
6. Поддръжка
6.1. Почистване
Regularly clean your PC to prevent dust buildup, which can lead to overheating. Use compressed air to remove dust from fans, heatsinks, and other components. Ensure the system is powered off and unplugged before cleaning.
6.2. Актуализации на BIOS
Периодично проверявайте ASRock website for BIOS/UEFI updates. Updates can improve system stability, add support for new CPUs, or fix bugs. Follow the instructions provided by ASRock carefully when performing a BIOS update.
7. Отстраняване на проблеми
Ако срещнете проблеми, вижте следните често срещани стъпки за отстраняване на неизправности:
- Без захранване: Ensure all power cables (24-pin ATX, 8-pin CPU) are securely connected. Check your PSU and wall outlet.
- Без дисплей: Verify that your monitor is connected to the correct graphics output (dedicated GPU or integrated graphics). Reseat your graphics card and RAM modules.
- Нестабилност на системата: Check CPU and GPU temperatures. Ensure RAM is properly seated and configured (XMP/EXPO settings). Update drivers and BIOS.
- BIOS ретроспекция: The motherboard features a BIOS Flashback button on the rear I/O panel. This allows you to update the BIOS without a CPU or RAM installed. Refer to the ASRock website for detailed instructions on using this feature.
- Изчистване на CMOS: If your system fails to boot after changing BIOS settings, you can clear the CMOS to reset BIOS settings to default. Locate the 'CLR CMOS' button or jumper on the motherboard (often near the rear I/O).
8. Спецификации
| Характеристика | Спецификация |
|---|---|
| Марка | ASRock |
| Име на модела | X870 |
| Номер на модела на артикул | 90-MXBTE0-A0UAYZ |
| CPU Socket | Цокъл AM5 |
| Съвместими процесори | AMD Ryzen 9000, AMD Ryzen 8000, AMD Ryzen серия 7000 |
| Тип чипсет | AMD X870 |
| Технология RAM памет | DDR5 |
| слотове за памет | 4 x DDR5 DIMM Slots (Dual Channel, up to 8000+(OC), 256GB max) |
| Графичен изход | 2 x USB4 Type-C (up to 8K 30Hz), 1 x HDMI 2.1 (up to 4K 120Hz) |
| PCIe слотове | 2 x PCIe 5.0 x16 (x8/x8), 1 x PCIe 3.0 x16 |
| Съхранение | 4 x SATA3, 1 x Ultra M.2 (PCIe Gen3x4), 1 x Hyper M.2 (PCIe Gen4x4), 2 x Blazing M.2 (PCIe Gen5x4) |
| LAN | 10Gbps LAN, 5Gbps LAN |
| Безжична LAN | 802.11be Wi-Fi 7 + Bluetooth |
| аудио | Аудио кодек Realtek ALC4082 7.1 канала HD, Nahimic Audio |
| USB портове (отзад) | 2 x USB 2.0, 6 x USB 3.2 Gen1, 2 x USB 3.2 Gen2, 2 x USB4 Type-C |
| USB портове (отпред) | 6 x USB 2.0, 4 x USB 3.2 Gen1, 1 x USB 3.2 Gen2x2 Type-C |
| Форма фактор | ATX |
| Power Phase Design | 18+2+1 Power Phase, 80A SPS |
9. Гаранционна информация
ASRock motherboards typically come with a limited manufacturer's warranty. The duration and terms of the warranty may vary by region and retailer. Please retain your proof of purchase for warranty claims. For detailed warranty information, refer to the official ASRock webсайта или се свържете с мястото, от което сте го закупили.
10. Техническа поддръжка
For technical assistance, driver downloads, BIOS updates, and further product information, please visit the official ASRock support webсайт:
You may also contact ASRock customer service directly through their webсайт за персонализирана поддръжка.


